

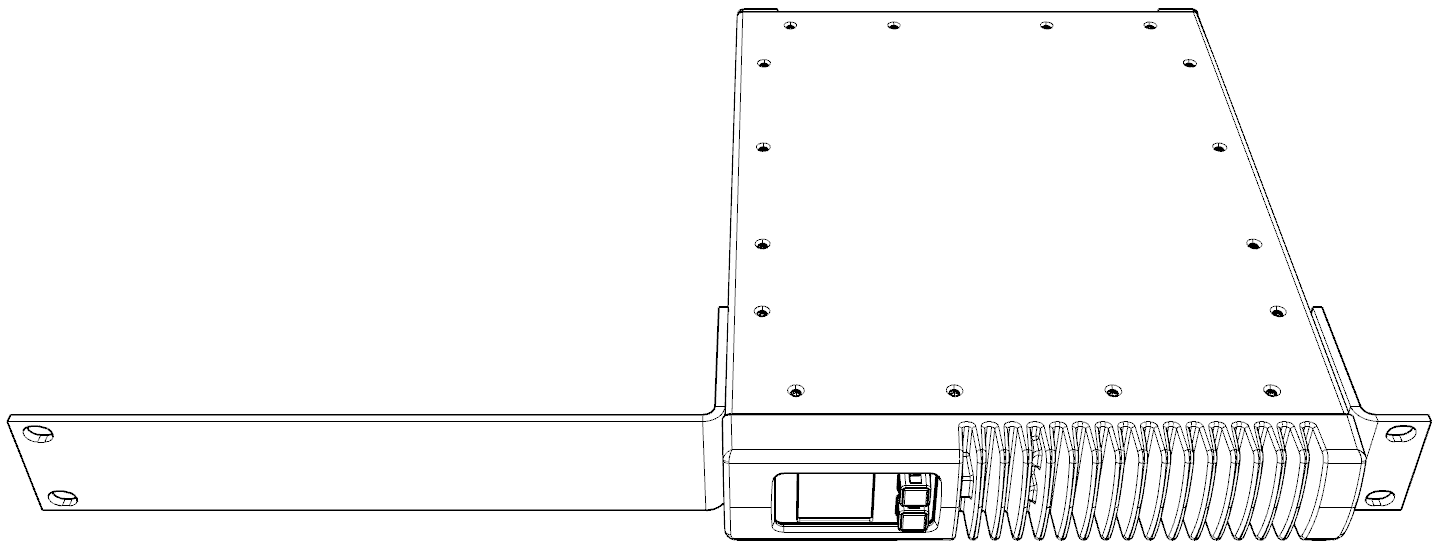
The xNode2 is designed as an AoIP interface where baseband is converted to AoIP and vice versa. The target placement is in an equipment rack. The ½ RU device can be racked individually or joined with another to make a full RU assembly.
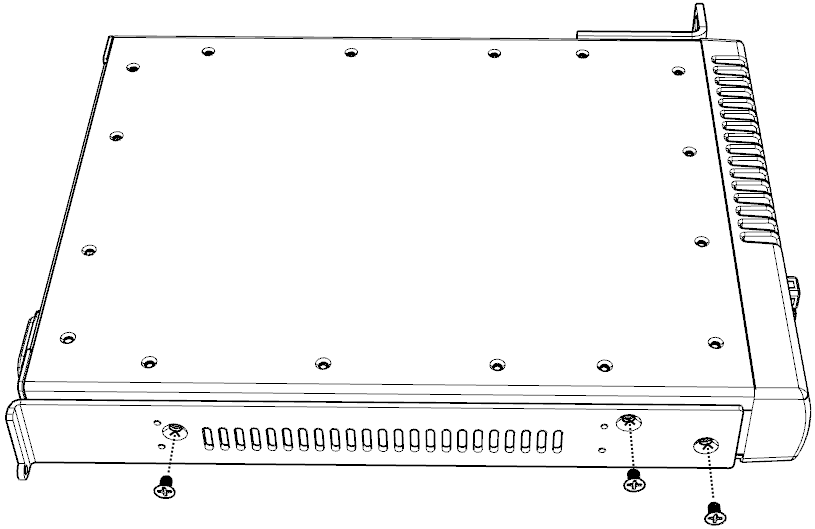
Single (1/2 RU) Mounting
Connect a single short rack ear (1451-00671) with two flat head screws to the left or right side of the xNode2.
Connect the long rack ear (1451-00670) to the other side with two flat head screws.
Dual (1 RU) Mounting
Fasten the L-Bracket (1771-00128) to the left side of the xNode2 with three flathead screws.
Place the second xNode2, so that the shoulder screws of the bracket fit into the keyholes. Slide the xNode2 into place. NOTE: The shoulder screws may require adjustment for better fit.
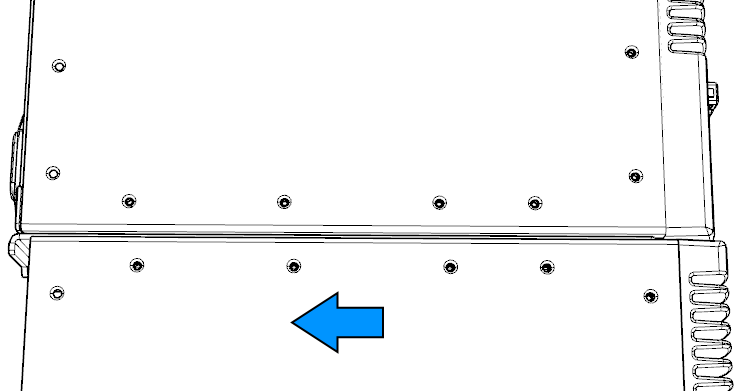
Lock the xNode2 in place with a screw secured to the back.
Fasten the two short rack ears (1451-00671) to either side with 2 flathead screws each.
Quick Start Guide
Note about the Simple Setup feature
The xNode1 included a simple setup feature that allowed users to enter a node ID, which would automatically set the node name, IP address, and Livewire channels.
While convenient, customers often found this confusing. In some cases, it caused problems by unintentionally “reconfiguring” devices that had already been set up.
For that reason, this feature was removed in xNode2. However, all of the same settings are still available and can be configured manually.
This guide assumes
Basic networking knowledge
An approved network switch is appropriately configured for use with AoIP traffic.
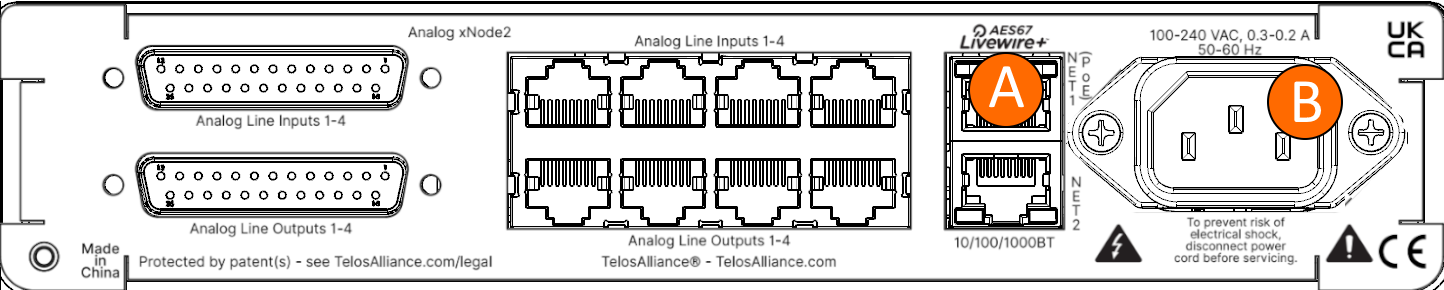
Connect the configured network to the xNode2 with a patch cable (A). If the network connection offers PoE+, the xNode2 will boot. Otherwise, connect AC power to the IEC connector (B).
The xNode2 will boot within 40 seconds.
Important Labeling change
A manufacturing change neccessitated moving the AES67 Liveire+ printing (yellow) below the bottom network jack.
Even though the label is below NET2 (bottom), NET1 (top) is still the Default AoIP interface. There is no AoIP on NET2 except in special modes (Bonded Failover, or SMPTE2022-7). This was an unavoidable change and we appologize for any confusion.

Press the top button (C ) on the front panel once so the display shows the network settings. The soft key indicator of a writing utensil will appear, indicating the bottom button can trigger an edit. Press and hold the bottom button (D) for 5 seconds to enter edit mode.
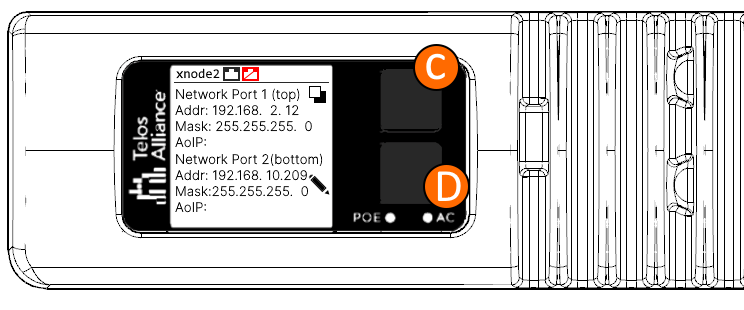
Use the top button to increment the value by one or the bottom button to move the cursor to the next slot.
Set an IP address for Network Port 1 and the corresponding netmask.
Continue to move the cursor through all the slots.
Once all the slots have been passed through, a pop-up will prompt you to confirm the IP change.
Press the top button (C ) to highlight Yes, followed by the bottom button (D) to confirm.
The device will reboot with the assigned IP address, which you can use to access the device's configuration pages.
Begin by launching a web browser and entering the IP address you just assigned to the xNode2. The device will ask for authentication.
The following authentication will be in place at initial release to maintain similarity to the previous xNode, but will change at a future date.
The username will be user, and there is no password.
Refer to the in-depth chapter or the chapter related to the model you use for detailed configuration options.